Hiring a video editor is only the first step. Before editing can actually begin, your editor needs the right materials in hand. And sending everything clearly, in one go, can save hours of back-and-forth later.
This post covers exactly what to send. If you’re also wondering what to agree on before the project starts — deadlines, feedback rounds, the brief itself — that’s a separate conversation, and I’ve written about it here: What to Agree on Before Your Editor Starts.
For now, let’s talk about the files.
1. Raw Video Footage
The most important thing your editor needs is the original footage, the camera files, screen recordings, phone footage, B-roll, drone shots, product shots, interviews, podcast recordings, extra takes, whatever the project involves.
Send the original files whenever possible, not compressed versions pulled from WhatsApp or downloaded off Instagram. The original real thing. Compression eats image quality and limits what an editor can actually do in post. If you shot with multiple cameras, organize the footage by camera or session so it’s not a guessing game later.
2. Audio Files
Good audio matters just as much as good video. Send everything relevant i.e. camera audio, external mic recordings, voiceovers, podcast tracks, music, sound effects, ambient recordings. If you recorded separate audio on a dedicated recorder, make sure those original files make it over too.
Don’t assume the audio baked into your camera footage is good enough.
A separate mic recording almost always gives your editor more control in post than a camera’s built-in mic ever will.
3. Script or Transcript
If there’s a script, send the final version. If there isn’t, even a rough transcript is worth its weight in saved time. It lets an editor spot important statements, mistakes, repeated sections, and usable quotes without shuttling through hours of raw footage. This matters most for talking-head videos and podcasts. And if the script changed after filming, make sure your editor knows which version is actually final.
4. Reference Videos
If you have a style in mind, show it rather than explain it. YouTube links, Reels, TikToks, past campaigns, even a screenshot of a color grade you like, all of it works better than a paragraph of description. “I want the pacing and captions to feel like this” tells an editor more in one sentence than most written briefs manage in five. This matters even more when the style you’re after is hard to put into words in the first place.
Your final output is a visual medium. Show them a visual reference, it’ll do more than any paragraph ever could.
5. Brand Assets
If this is for a business or personal brand, send the actual assets i.e. logo files, brand colors, fonts, guidelines, product images, past campaign graphics. Send the real files, not a screenshot of your logo. An SVG or high-res original will always be more useful in production than a compressed image pulled off your own website.
6. Music and Sound Files
If you already have music picked, send the files or links. If you have licensed music that has to be used, include the license details along with the track itself, not just the file. (If you’re not sure why that matters, it’s worth reading about separately. Licensing questions have a way of surfacing months after a video goes live, long after anyone remembers where a track came from.) This post covers exactly that. You can read more about it here: Ask Your Video Editor for Licensing Documentation, Every Time.
7. Platform Access, If Relevant
Sometimes an editor needs more than raw files, access to a YouTube channel for chapter markers and thumbnails, a shared Google Drive, or a project management board where the footage lives. If your workflow depends on any of that, set up the access before the deadline clock starts, not on the day it’s due. Nothing stalls a project faster than an editor waiting on a permissions email.
8. Organize the Files
You don’t need a perfect folder structure, but a basic one helps more than you’d think:
Project Name/
├── Footage/
├── Audio/
├── B-Roll/
├── Graphics/
├── Music/
├── Brand Assets/
└── References/
If you shot across multiple days or cameras, break Footage into subfolders. The whole point is making it obvious what each file is and where it belongs. For your editor today and maybe for whoever has to make sense of the project a year from now.
9. Use a Reliable File Transfer Method
Video files are almost always too big for email or messaging apps. Use proper cloud storage or a transfer service, and before you hand things off, double-check that your editor actually has access, the links won’t expire early, nothing’s missing, quality hasn’t been compressed away, and the folder structure makes sense to someone who isn’t you.
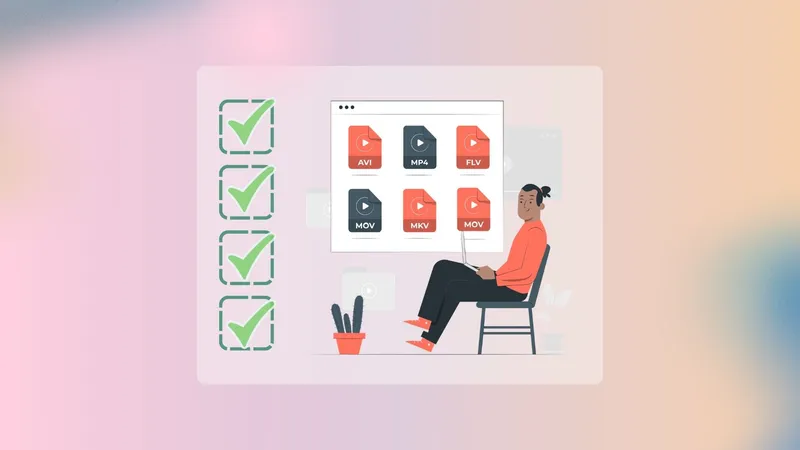
The File Checklist
- Raw video footage
- Separate audio recordings
- B-roll and additional footage
- Script or transcript
- Reference videos
- Brand assets
- Music and sound files
- Platform access, if needed
- Organized project files
- Working file transfer link
What Comes Next
Sending the right files gets your editor started. It doesn’t tell them what the video is for, who it’s for, or when you need it back — that part happens before the files even go out, in the conversation you have with your editor up front.
That’s the other half of this. I’ve written it up separately: What to Agree on Before Your Editor Starts.